Native Twitch emote setup
How to Add Emotes to Twitch: Upload, Name, and Assign Them
A practical guide to preparing the file, opening the right Creator Dashboard area, uploading an emote slot, and checking where the emote can be used after it is saved.
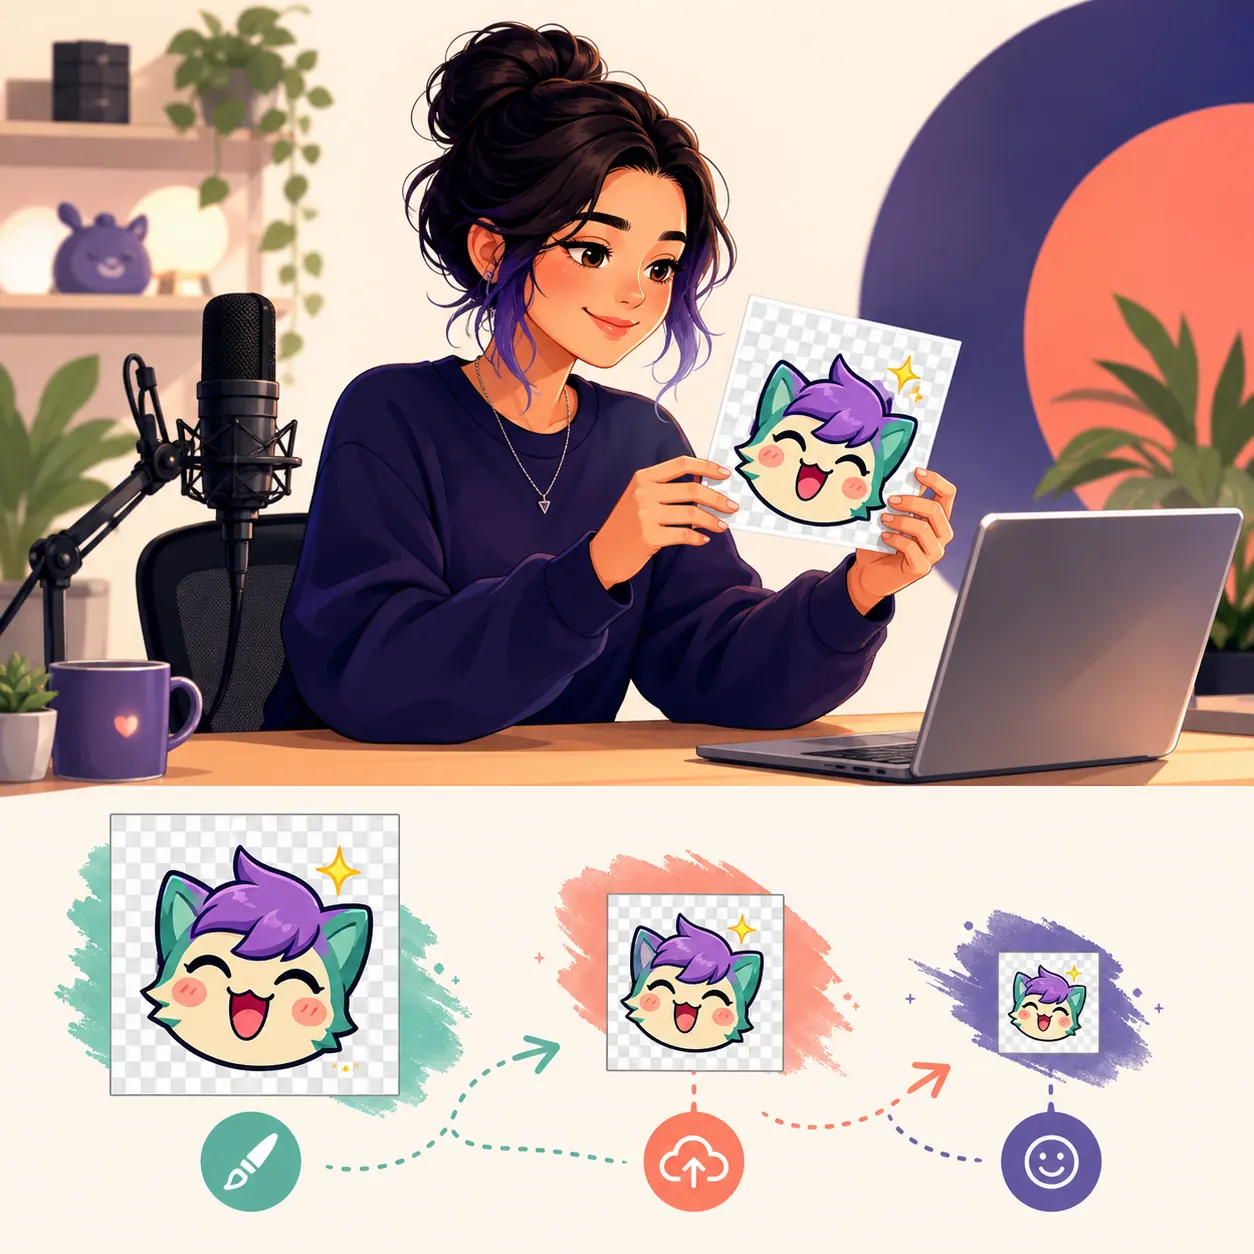
1. Prepare the emote before opening Twitch
The upload step is easier when the artwork and its name are ready first. Start with one clear reaction or symbol, keep the background transparent when the design needs to sit cleanly in chat, and make sure the important shape is large enough to survive a small preview. A detailed illustration can look excellent on a canvas and still become an indistinct blob beside a username.
Choose a short code that viewers can remember and type. It should describe the reaction or channel joke without copying another code already in your set. Avoid a code that depends on punctuation, unusual spelling, or a long phrase. If you are preparing several tiers, keep the shape consistent and change one obvious detail such as color, border, or accent.
- Use a square source and inspect it on both light and dark backgrounds.
- Keep faces, symbols, and the main silhouette away from the outer edge.
- Remove tiny words and decorative details that disappear at chat size.
- Save the original layered artwork so you can simplify it later without losing the master.

2. Check size, format, and the emote code
Twitch can change upload controls and account limits, so treat the current dashboard and official emote guidance as the final source. Your local preflight is still valuable: it catches the common problems that make an otherwise good upload look soft, fail validation, or become unreadable in chat.
Use the table as a quick handoff between the artwork stage and the dashboard stage. If you need the three standard manual previews, use the site tools before you upload rather than discovering a crop problem after the emote is already assigned.
| Check | What to confirm | Why it matters |
|---|---|---|
| Canvas | Square artwork with the subject centered | Non-square crops can cut the reaction or logo |
| Small preview | The face, symbol, or gesture is still obvious | Chat viewers often see the smallest version |
| Transparency | No unwanted white or dark halo around the art | A solid box can clash with both chat themes |
| Code | Short, unique, and easy to type | Viewers need a reliable way to use the emote |
3. Upload an emote in the Creator Dashboard
Open Twitch's current Creator Dashboard for the channel that should own the emote. Look for the Emotes area inside the viewer-reward or channel-reward settings. Twitch may rename or reorganize these screens, so follow the current labels you see rather than an old screenshot from a different dashboard version.
Choose an available subscriber or follower slot, then use the upload control for that slot. Select the prepared image, enter the unique code, review the preview, and save or submit the change. If Twitch shows a review, eligibility, or approval state, wait for that state instead of repeatedly uploading the same file.
- Open the channel dashboardSign in to the Twitch account that owns the channel and open the current Creator Dashboard.
- Find the Emotes areaOpen the viewer-reward or channel-reward settings and choose the native emote management screen.
- Pick a slotChoose the subscriber or follower slot that your account currently makes available.
- Upload and name itSelect the square image, enter a unique code, and check the preview at the smallest visible size.
- Save and verifySave the change, then test the emote in the channel context where the selected audience should be able to use it.
4. Assign the right audience and tier
Native Twitch emotes can be tied to different channel features, such as subscriber tiers or follower access when the channel has that option. The important distinction is not only the artwork; it is the slot and audience selected in the dashboard. A file can upload successfully and still appear unavailable to the people you expected if it was assigned to a different tier or feature.
When building a set, give each tier a clear visual relationship. A color shift, a small crown, or a stronger border is easier to read than a tiny month label. Keep the same canvas and alignment across the set so the badges or emotes do not jump around when viewers compare them.
- Read the audience label beside the slot before saving.
- Do not assume a subscriber emote is automatically available to every viewer.
- Use a consistent naming pattern across related tiers.
- Test with an account or channel context that can actually use the selected feature.
5. Fix the common reasons an emote cannot be added
If the Emotes area is missing, first confirm that you are in the correct channel dashboard and that the account has the relevant Twitch feature. A moderator may help with channel operations, but moderator access does not always grant ownership-level control over subscriber or follower emote slots. Check the current account roles and Twitch Help instructions before changing permissions.
If the upload control is visible but the file fails, check the square dimensions, file type, transparency, file size, and code uniqueness. If the file is accepted but looks blurry, return to the source artwork: crop closer, remove tiny detail, increase contrast, or make the expression larger. Repeatedly exporting the same crowded image rarely fixes small-size readability.
- No menu: verify the channel, role, account eligibility, and current dashboard path.
- Rejected file: recheck dimensions, format, transparency, file size, and code rules.
- Code conflict: choose a new code that is not already used in the channel set.
- Blurry preview: simplify the source and inspect the 28×28 version before retrying.
- Delayed appearance: allow for Twitch review or propagation instead of making duplicate slots.
6. Know the difference between Twitch and third-party emotes
A native Twitch emote is managed in the channel's Twitch dashboard and follows the audience, slot, and rules shown there. 7TV, BetterTTV, and FrankerFaceZ are separate extension ecosystems. A viewer may see an extension emote in chat only when the relevant service and extension are available, so adding a third-party emote is not the same as uploading a native Twitch emote.
This distinction explains why a search such as how to add 7TV emotes to Twitch can lead to a different workflow. Keep the native file, code, and audience steps on this page; use the third-party service's own documentation for extension setup. Do not promise that an extension emote will appear for viewers who do not use that service.
| Type | Where it is managed | Who can use it |
|---|---|---|
| Native Twitch emote | Twitch Creator Dashboard | The audience and slot shown by Twitch |
| Third-party extension emote | The extension service and its channel settings | Viewers with the compatible service or extension |
7. Run a final channel-side check
After saving, look at the emote list again and confirm the code, preview, audience, and status. Test the code in a message where you are allowed to use it, then check the result at the small size viewers will actually see. If you prepared both emotes and subscriber badges, keep the two workflows separate: badge files use 72×72, 36×36, and 18×18, not the emote set.
The best upload workflow ends with a real channel check, not just a green upload message. Confirm that the art is recognizable, the code is easy to remember, the intended audience can use it, and the source file remains available for future edits.
- Code and preview match the emote you intended to publish.
- The selected tier or follower audience is correct.
- The emote reads clearly in a real chat-size context.
- The original artwork and exported files are backed up.
- The current Twitch Help guidance was checked if the dashboard behavior is different.
How to add emotes to Twitch FAQ
How do I add emotes to my Twitch channel?
Open the current Creator Dashboard for the channel, find the native Emotes area under the viewer or channel rewards settings, choose an available slot, upload a square image, enter a unique code, and save it. The current dashboard and Twitch Help page are the final authority for eligibility and menu names.
Can a Twitch moderator upload subscriber emotes?
Moderator access does not automatically equal channel-owner control over every emote slot. Check the role permissions and current Twitch dashboard behavior; if the Emotes area is unavailable, the channel owner or an account with the required feature may need to complete the upload.
How do I add 7TV emotes to Twitch?
7TV emotes use a separate extension workflow and are not the same as native Twitch emotes. Follow 7TV's current channel and extension instructions, and remember that viewers may need the compatible extension to see or use them.
What should I name a Twitch emote?
Use a short, unique code that describes the reaction or channel joke and is easy to type. Avoid long phrases, confusing punctuation, and a name that is already used by another emote in the channel set.
Why can I upload an emote but not use it?
The emote may be assigned to a different subscriber tier or follower feature, still be under review, or be unavailable to the account testing it. Recheck the audience label and status in the dashboard, then test with the appropriate channel context.
Why is my Twitch emote blurry after I add it?
The source may have too much detail, weak contrast, a loose crop, or thin lines that disappear at chat size. Simplify the artwork and inspect the 28×28 preview before uploading again.