How Twitch badge resizing differs from emotes
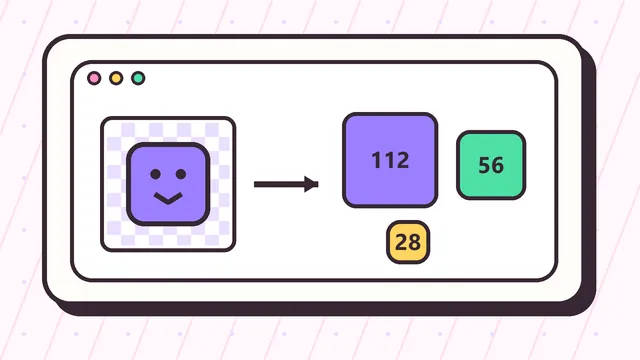
Twitch badges are smaller than emotes in chat and often sit beside a username, so they need even stronger silhouettes. A Twitch badge resizer creates 72x72, 36x36, and 18x18 files, but the design itself should be simpler than a typical reaction emote.
A badge can represent loyalty, rank, time subscribed, or a channel theme. The best badge designs use a clear shape, limited detail, and strong contrast. If the 18x18 preview is not recognizable, the badge will not work well in real chat.
Best badge source artwork
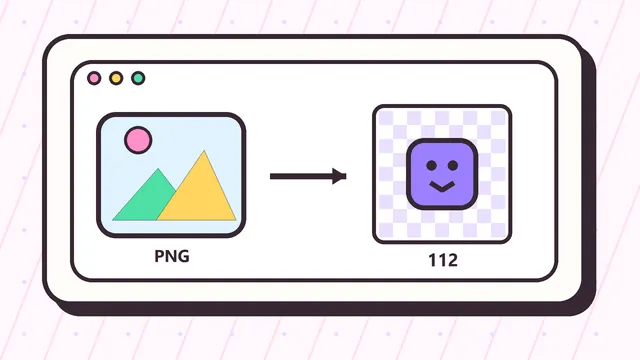
Start with a square icon or symbol rather than a full illustration. Transparent PNG is the safest format because the badge can sit cleanly beside usernames on both dark and light Twitch themes.
If you are creating a badge series, keep the base shape consistent and change color, number, or a simple accent for each tier. This makes the badge set easier for subscribers to recognize.
Using the badge tool on this page
Use the tool above and change the output set to Twitch badges. The tool will generate the 72px, 36px, and 18px outputs and package them in a ZIP.
Use the fit mode if your badge icon already has the right spacing. Use crop mode if the symbol is too small and needs to fill more of the square.
Example Twitch badge resizer workflow
A practical Twitch badge resizer workflow starts with one square icon, not a full illustration. Upload a clean badge source, select the badge output set, and compare the 72x72, 36x36, and 18x18 files. The 72px file can hold the most detail, but the 18px version decides whether the badge will work in chat.
For example, a crown, star, gem, letter mark, or loyalty symbol should still be recognizable when it is smaller than most text. If the 18x18 badge looks like a blur, remove internal lines, enlarge the main shape, and use a stronger outline before exporting the final ZIP.
Designing badge tiers before resizing
Many channels need a full subscriber badge set, not just one file. Build the badge series before using the Twitch badge resizer so every tier shares the same shape, spacing, and visual language. Then change one clear detail, such as color, number, sparkle, or border weight, to show progression.
Do not rely on tiny labels like one month, three months, or VIP text inside the badge. Those labels usually disappear at 18x18. A simple tier system is easier for viewers to recognize and easier for moderators or channel managers to upload correctly.
Badge file checks before Twitch upload
Before uploading, confirm that each generated badge file is square, transparent when needed, and matched to the right size slot. Twitch badges are not the same as emotes, so the 72x72, 36x36, and 18x18 files should stay in the badge workflow.
The Twitch badge resizer helps with dimensions, but it cannot fix an over-detailed concept by itself. If the smallest preview is unclear, go back to the original badge art and simplify. The best Twitch badge resizer result comes from bold source artwork with clean edges and very few internal details.
When to use fit mode or crop mode for badges
Fit mode is best when the badge shape already has good spacing. It preserves the full symbol and adds transparent space when the source is not perfectly square. Crop mode is better when the icon has too much empty margin and the important shape needs to look larger beside a username.
Use the Twitch badge resizer preview to compare both choices before downloading. At 18x18, a tiny difference in margin can decide whether the badge reads as a clear loyalty mark or a vague colored dot. If both modes look weak, simplify the source icon instead of forcing another export.