How animated Twitch emote resizing is different
A static Twitch emote resizer only has to create clean pixel sizes. A Twitch GIF emote resizer also has to preserve motion while keeping the file small enough to upload. That means the source animation, frame count, color palette, transparency, and loop timing all matter.
Before resizing a full animated GIF, export or capture one important frame and test it at 28x28. If the still frame does not read clearly, the animated version will usually be even harder to understand in chat.
Design animated emotes for tiny motion
Small movements work better than complex scenes. Blinking eyes, a bounce, a sparkle, or a quick reaction loop can be readable. Large camera moves, tiny text, or detailed background animation usually waste file size without helping viewers understand the emote.
Keep the subject centered and let the silhouette do most of the work. If the animation depends on text, test the text at 28x28 before committing to the full GIF.
Use PNG checks before final GIF export
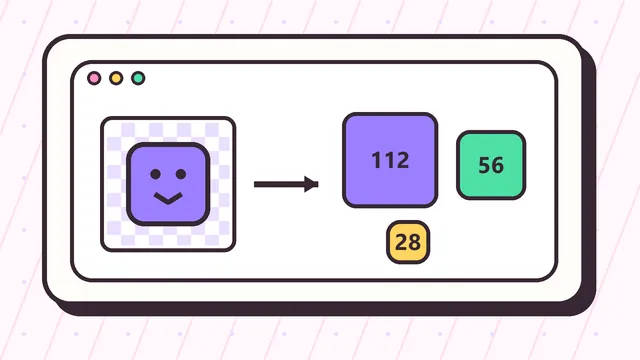
The tool above creates static PNG outputs, which makes it useful as a quality checkpoint for animated emote art. Upload a key frame, check the 112x112, 56x56, and 28x28 previews, and adjust the artwork before spending time on animation compression.
For the final animated GIF, use your animation editor to resize and optimize all frames together. Keep a backup of the original animation in case you need to reduce frames or simplify colors.
Example Twitch GIF emote resizer workflow
A reliable Twitch GIF emote resizer workflow starts with one representative frame. Choose the frame where the expression, object, or reaction is easiest to understand. Export that frame as a PNG, upload it to the tool above, and inspect 112x112, 56x56, and 28x28 before compressing the full animation.
If the key frame fails at 28x28, the animated emote will not improve after resizing. Revise the art first: crop closer, remove background movement, thicken the outline, and keep only the motion that supports the reaction. This prevents wasted time fighting GIF compression after the design problem is already baked in.
Frame count, timing, and file weight
Animated emotes become heavy because every extra frame adds data. A short loop with eight clear frames is often better than a long sequence with subtle movement. For Twitch chat, the viewer usually notices the idea of the motion more than the smoothness of the animation.
Use the Twitch GIF emote resizer checks as an early warning system. If the static frame already has gradients, fine hair, tiny text, or heavy texture, the final GIF may become too large quickly. Simplifying the palette, reducing the canvas detail, and shortening the loop are usually more effective than repeatedly exporting the same complex animation.
What this page can and cannot resize
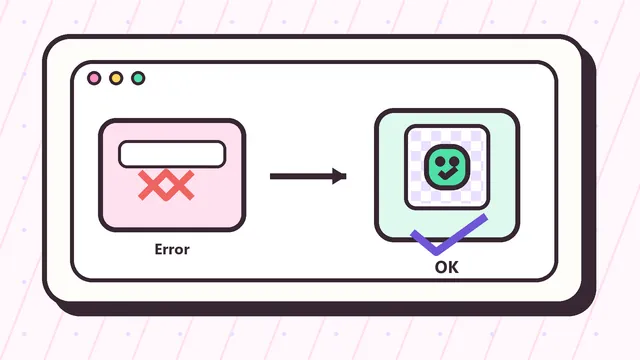
The browser tool on this page creates static PNG outputs from an uploaded image. It is useful for checking a GIF key frame, building a fallback static emote, and deciding whether the animation is readable at Twitch emote size. It does not preserve every animated frame as a final GIF export.
For a finished animated file, resize and optimize the full GIF in an animation editor after the still-frame check passes. Keep the final loop simple, test it against Twitch upload requirements, and return to this Twitch GIF emote resizer guide whenever the file is rejected for size, shape, or readability.
Static fallback files for animated emotes
Even when the final asset is animated, a static fallback check is useful. A streamer, designer, or moderator can review one clean frame before the full GIF is compressed. That makes the Twitch GIF emote resizer workflow easier to share because everyone can discuss the same 112x112, 56x56, and 28x28 previews.
If the fallback frame works, keep it as a backup PNG set. If the animation upload fails later, you still have Twitch-ready static files while you reduce frame count, simplify color, or rebuild the loop.
How to use a Twitch GIF emote resizer safely
Choose a representative frame where the expression or action is easiest to understand, then check it at 112x112, 56x56, and 28x28. This catches weak silhouettes, tiny text, and low contrast before you spend time exporting every animated frame.
The tool creates static PNG outputs and key-frame previews. It does not preserve the full GIF animation, so use an animation editor for the final loop and return here when you need to confirm that the design still reads at chat size.