Pre-upload requirements
Twitch Emote Requirements: File Rules and Upload Checklist
Use one practical checklist to separate account access, file preparation, readability, and content rules before you submit a Twitch emote.
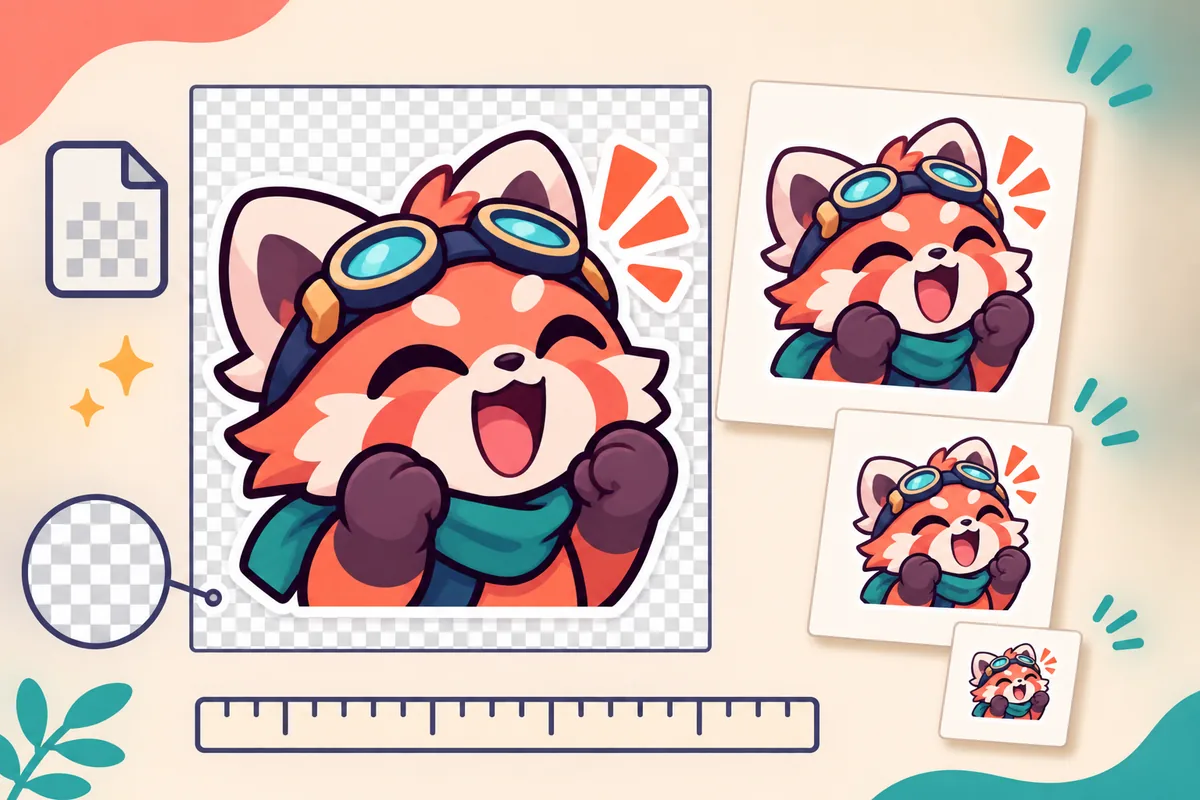
1. Twitch Emote Requirements: account, file, and content checks
Twitch emote requirements are easiest to check when each failure has its own category. An account may not yet show the native emote control. A file may be the wrong shape, format, size, or transparency type. The artwork may be difficult to read at chat size, or it may need a content review. Calling all of these a “dimension problem” leads to repeated exports without solving the real issue.
Name the job first. Check channel access in the current Creator Dashboard, check file and preview rules when preparing artwork, and read current Twitch guidance when a concept may raise a policy question. Keep account notes separate from export notes so a changing rule does not invalidate a prepared PNG.
| Requirement family | What it answers | Where to verify |
|---|---|---|
| Account access | Can this channel see and assign the intended emote feature? | Current Creator Dashboard and Twitch Help |
| File preparation | Does the export match the expected format, shape, sizes, and weight? | The upload form plus a local file check |
| Visual readability | Will the reaction still make sense in a small chat preview? | 28x28 preview on light and dark backgrounds |
| Content and rights | Is the artwork original, permitted, and suitable for Twitch? | Current Twitch guidelines and your license notes |
2. Check account access before commissioning a full set
Native Twitch emotes are attached to channel features and audiences. The controls visible to an Affiliate, Partner, or another eligible account may not be identical, and follower, animated, subscriber, and extension emotes are separate workflows. Do not promise a client or artist a fixed number of slots from a search snippet. Open the dashboard that will receive the files and record the category, audience, and available control before you order a large pack.
A slot is not a file size: one reaction can have several exports while using one assignment, and an available slot does not make a malformed PNG valid. This split tells you whether to check Twitch, change a setting, or export a cleaner file.
- Open the live dashboardUse the channel that will publish the emote.
- Name the audienceSeparate subscriber, follower, animated, and extension controls.
- Record the limitSave the label and date instead of making a universal promise.
3. Prepare the classic Twitch emote file set
For the classic manual workflow, prepare a square PNG set at 112x112, 56x56, and 28x28 pixels. Export every size from the clean master instead of shrinking an already reduced file. A square, transparent canvas keeps the crop predictable across chat themes.
Use the largest clean source, keep the subject inside a safe margin, remove accidental background pixels, and name each file with its reaction and size. Limits can change for animated or newer categories, so treat this table as a baseline and follow the live upload screen when it differs.
| Export | Why it matters | Check before upload |
|---|---|---|
| 112x112 PNG | Largest native preview and the easiest place to inspect edge quality | Square canvas, crisp subject, no accidental background |
| 56x56 PNG | Middle size used in parts of the Twitch experience | Expression and main silhouette still match the master |
| 28x28 PNG | Small chat context where detail and thin text disappear first | Reaction is recognizable without zooming |
| Transparent background | Keeps the artwork from appearing inside a solid rectangle | Open on both a light and a dark background |
| File weight | Large textures and gradients can trigger upload limits | Compare the current limit in the upload form and simplify if needed |
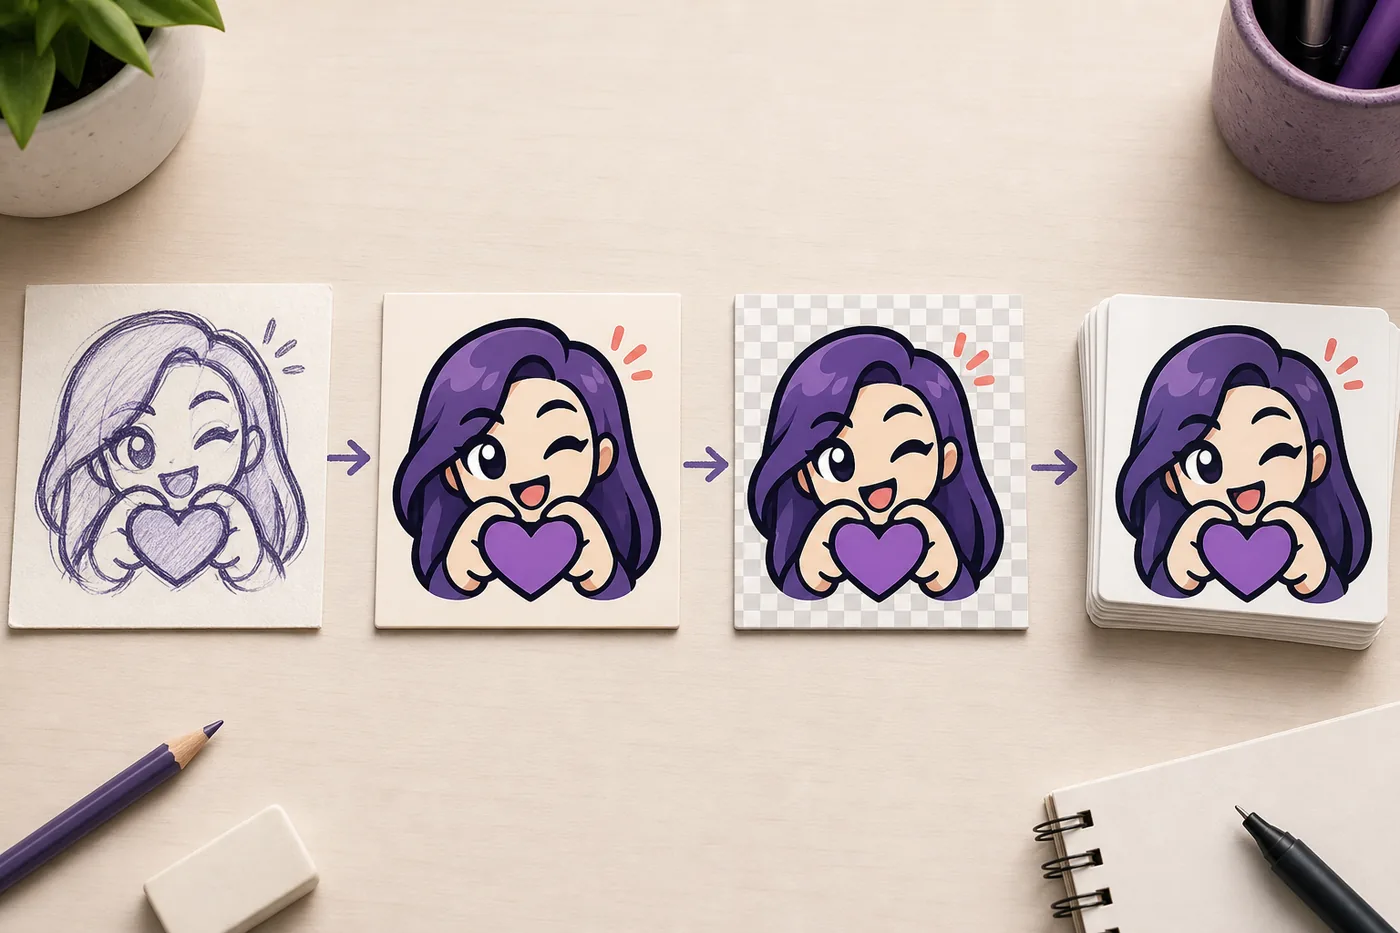
4. Validate PNG, transparency, and file weight
PNG is the practical baseline for static artwork when you need transparent edges. JPG can introduce a solid rectangle, and a format accepted by an editor may not be accepted by Twitch. Follow the type shown in the current form and keep the source separate from upload exports.
Weight depends on texture, palette, shadows, and transparent space as well as pixels. If a file is too large, simplify the artwork before changing the canvas repeatedly. For animation, check frames, duration, dimensions, and the current animated limit together.
- Open the exported PNG in an editor that shows a transparency grid; do not trust a white preview alone.
- Check pixel dimensions from file properties and compare weight with the live upload limit.
- Remove hidden layers, oversized margins, and unnecessary texture; keep an untouched master.
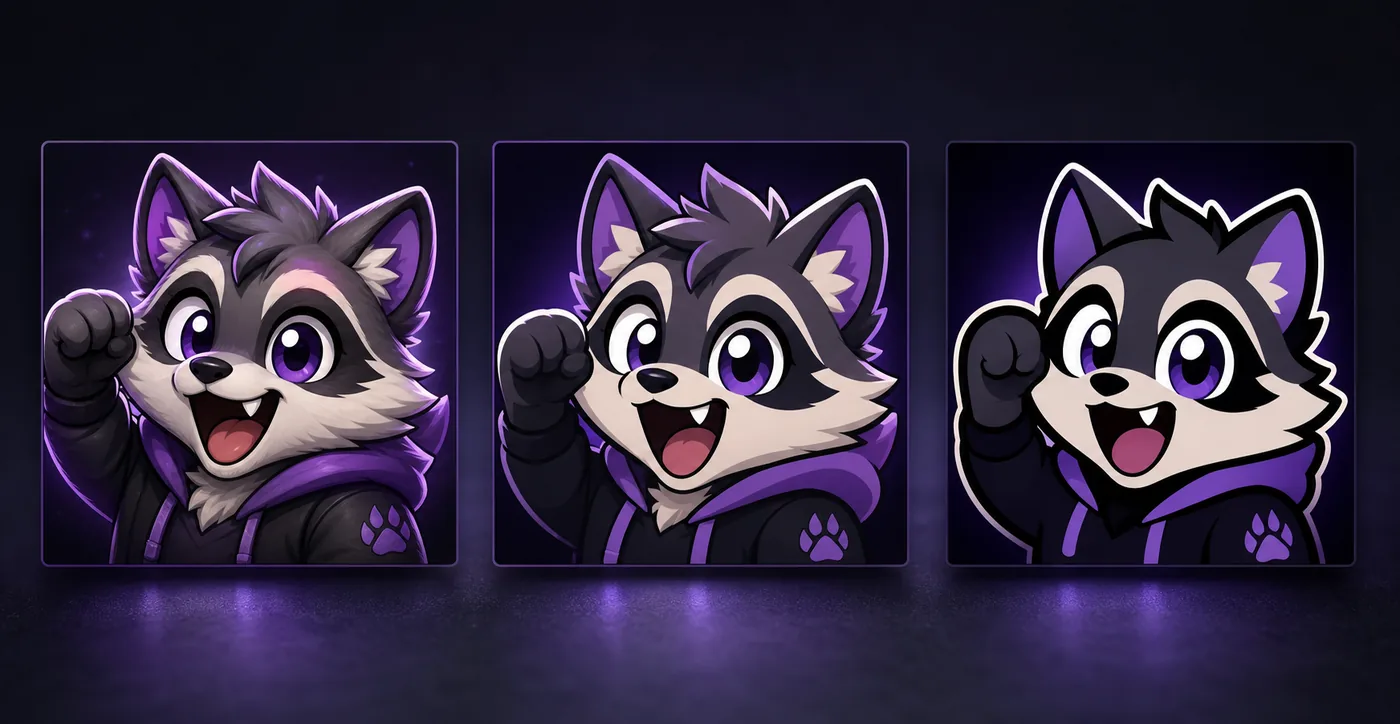
5. Check content rules, originality, and usage rights
A file can meet every pixel requirement and still need review. Twitch’s current guidelines are the authority for restricted content, and the wording can evolve. Avoid hateful, harassing, violent, sexual, or otherwise disallowed imagery; when a concept is close to a boundary, choose a clearer design or ask for guidance.
Originality and licensing matter too. A transparent PNG in a search result is not automatically free to upload. Save the artist, source URL, permission scope, and attribution requirement with the master. For community packs, confirm monetized streaming, edits, animation, and channel branding are covered.
6. Run a five-minute pre-upload checklist
The Twitch emote requirements checklist catches avoidable mistakes before you open the dashboard. Work from the final upload folder, compare the files as a set, preview the smallest one, and record the date you checked live Twitch rules. If a check fails, fix the source and export again.
Use it for a new emote, a commissioned pack, or a replacement reaction. It tells you when to pause for a changing rule instead of pretending a static article knows every account’s limit.
- Confirm the destinationOpen the channel and feature that will receive the artwork.
- Inspect and previewVerify the square 112/56/28 set and read the 28px image on light and dark backgrounds.
- Check and uploadCompare the live limit, review rights, assign code and audience, and save the checked date.
7. Match the failure to the right fix
When an upload fails, record the exact message and file. A wrong dimension needs a new export, a size warning needs simpler artwork or current compression, and a missing slot needs an account check. If Twitch accepts the file but it looks muddy, the design still fails the readability goal; changing a valid dimension will not fix it.
Animated and extension emotes need extra care. Animation adds frame and timing limits, while 7TV follows its own service rules. Label those assets so an extension file is not submitted to a native slot or treated as proof that an animation is ready.
| What you see | Likely boundary | Next action |
|---|---|---|
| No emote control | Account access or feature category | Check the current dashboard and slot guide |
| Wrong dimensions | Export set or non-square source | Generate the native size set again from the master |
| File too large | Texture, palette, hidden data, or current limit | Simplify, clean the file, and compare the live limit |
| Accepted but blurry | Small-size readability | Crop tighter, increase contrast, and simplify the reaction |
| Animated upload fails | Frames, duration, format, or animated limit | Use the current animated rules and test a shorter loop |
| Policy or rights concern | Content review or unclear permission | Change the concept or confirm rights before resubmitting |
8. Keep the checklist current without rewriting the artwork workflow
Twitch can change labels, limits, access programs, and review guidance. Add a checked date beside any Twitch emote requirements taken from a dashboard or help article and link the official page in your notes. Update the line that changed; keep the tested master and small-size review.
For a dependable handoff, keep the master, final exports, license note, destination, and audience together. This makes replacements fast when a code, feature, or review request changes. Use the browser resizer after artwork is ready, but keep this check as the final gate.
Make readable Twitch emotes from your masterTwitch emote requirements FAQ
What are the standard Twitch emote sizes?
The classic manual workflow uses 112x112, 56x56, and 28x28 pixel files. Check the current upload form if Twitch presents a different requirement for a newer feature.
What file format should a static Twitch emote use?
PNG is the practical baseline for static artwork because it preserves transparency. Always follow the format accepted by the current Twitch upload control.
What is the maximum Twitch emote file size?
The limit can depend on the emote category and current Twitch rules. Compare your file with the value shown by the live upload form instead of relying on an old number.
Can any Twitch channel upload custom emotes?
Native emote access depends on the features and controls enabled for the channel. Check the current Creator Dashboard and Twitch Help documentation for the destination account.
Why does Twitch accept my emote but it still look blurry?
Technical validation does not guarantee small-size readability. Simplify the silhouette, crop closer, increase contrast, remove tiny text, and review the 28x28 preview.
Where should I verify changing Twitch emote rules?
Use the current Twitch Help pages and the Creator Dashboard that will receive the emote. Record the checked date and treat older blog tables as background rather than a final authority.