Before you resize
Twitch Emote Template: Canvas, Grid, and Export Checklist
A practical template for planning readable Twitch emotes before you resize, export, and upload the final files.
1. What a useful Twitch emote template should include
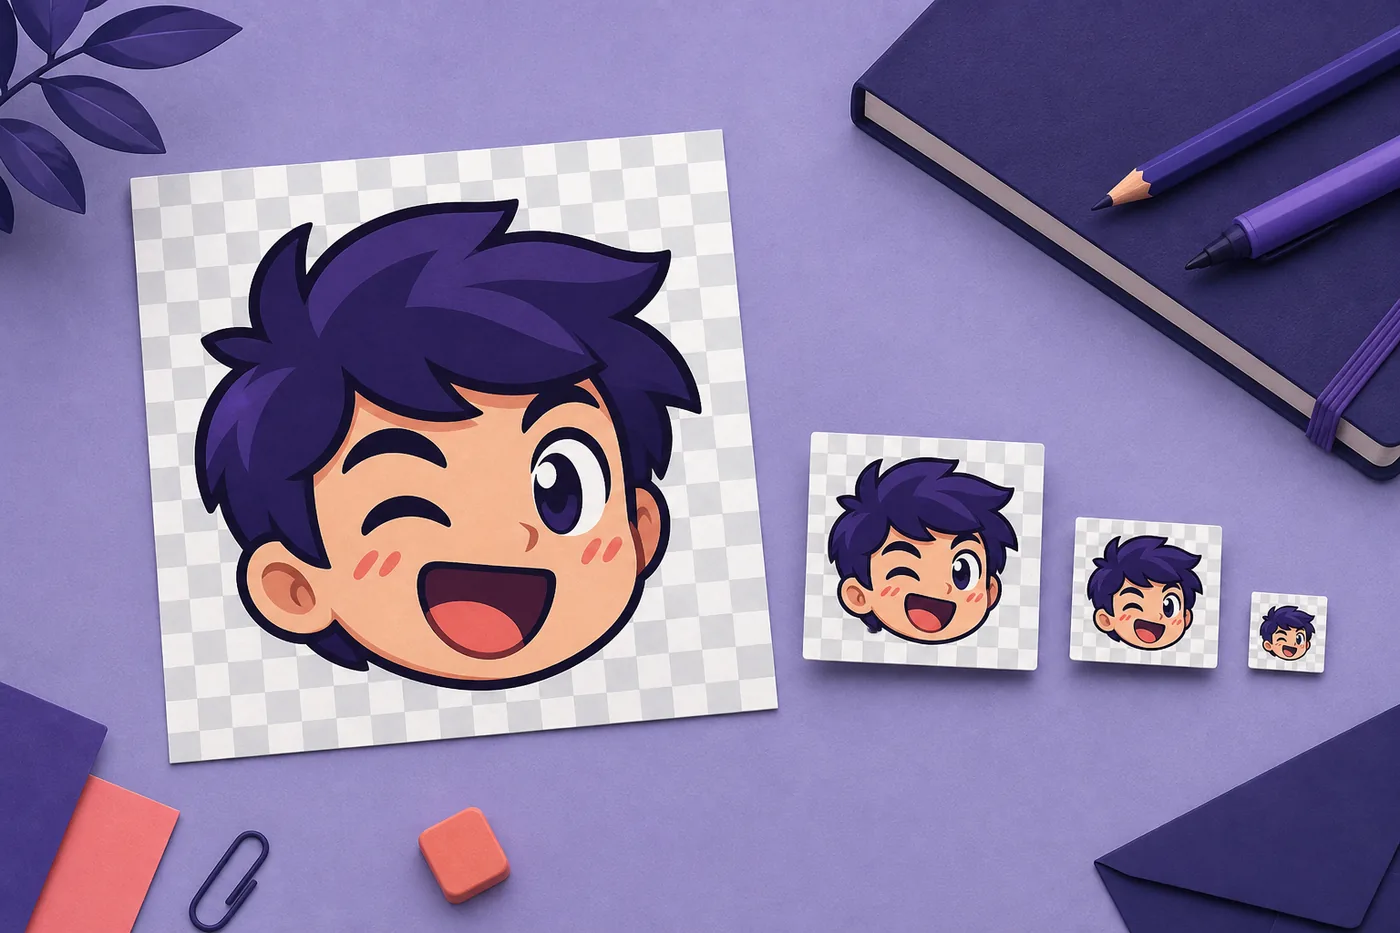
A Twitch emote template should answer four practical questions before you start drawing: how much room the artwork has, where the transparent edges are, what the smallest preview looks like, and which files you need to export. It should make the production decision easier without forcing every emote into the same style.
The most useful template is therefore a repeatable checklist rather than a decorative PSD with a fixed character or a fake upload screen. Keep the artwork area square, leave breathing room around hair or props, and check the silhouette at the size viewers will actually see in chat. Twitch is a trademark of its respective owner; this guide describes a preparation workflow for creators.
- A square working area with a visible center and safe edge zone.
- A transparent background or a clearly marked transparency layer.
- A small-size preview for checking silhouette, contrast, and facial expression.
- A file checklist for the 112x112, 56x56, and 28x28 PNG set.
- A final upload check that separates design problems from resizing problems.
2. Set up the canvas, grid, and safe area
Start with a large square canvas so you can draw clean curves and keep a master file. The canvas is a working surface, not necessarily the exact file you will upload. Use guides to mark the center and a comfortable inner boundary, but do not let the guides become part of the exported PNG.
A safe area protects the parts that explain the reaction: eyes, mouth, hands, horns, hats, or other signature shapes. It is not an official Twitch approval guarantee. It is a design aid that reduces the chance of an important feature touching the edge or disappearing when the image is reduced.
| Template part | Recommended setup | Why it matters |
|---|---|---|
| Working canvas | Large square master file | Gives you room to draw, clean, and revise. |
| Center guide | Mark the visual center, not only the math center | Keeps faces and symbols balanced in chat. |
| Safe area | Leave a clear inner margin around important shapes | Prevents edge crops and cramped silhouettes. |
| Transparency | Keep the background on a separate layer | Makes the exported PNG easier to reuse and resize. |
| Preview strip | Review large, medium, and tiny versions | Shows whether the idea survives downscaling. |
3. Design the idea for the 28x28 preview first
The smallest preview is the fastest way to find a weak concept. Reduce the artwork until it is roughly the size of a chat emote, then ask whether the reaction is still obvious without reading a caption. If the answer depends on tiny text, thin fingers, subtle shading, or several small props, simplify the drawing before you export.
A good template does not make every emote identical. It gives you a consistent test: strong outer shape, one dominant expression, a small number of colors, and enough contrast between the subject and its transparent surroundings. Detail can return at the larger sizes, but the core gesture should already work at the smallest one.
- Use one dominant expression or action instead of several competing details.
- Prefer bold shapes and clear color separation over delicate texture.
- Keep eyes, mouth, and the main prop large enough to survive reduction.
- Avoid relying on a border that becomes a dark blob at 28x28.
- Test the emote on both light and dark chat backgrounds when possible.
4. Follow a repeatable template workflow
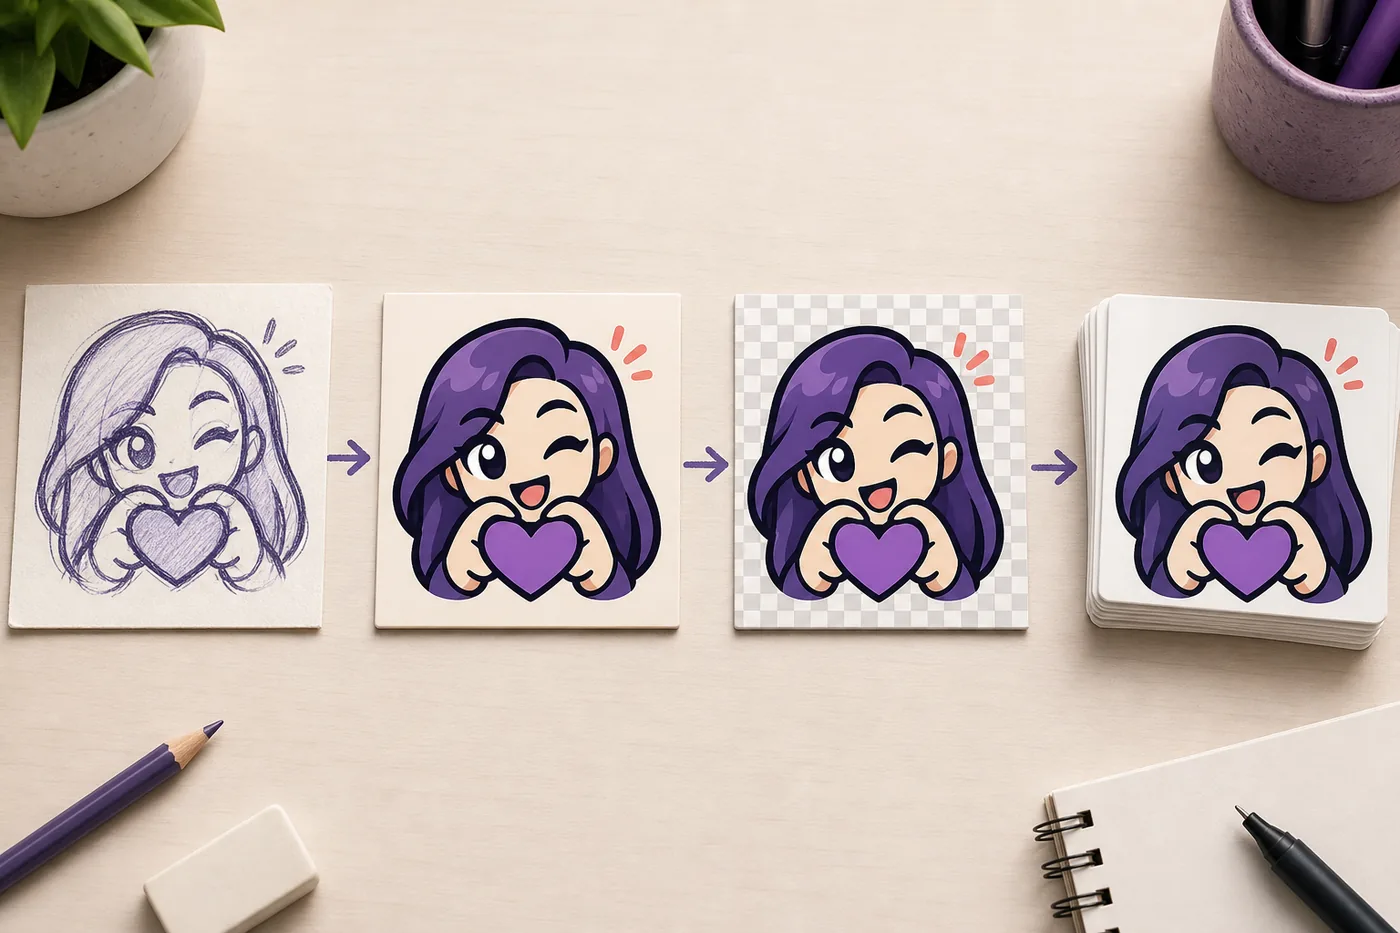
Use the same order for every emote: define the reaction, build a readable silhouette, clean the transparent artwork, and then create the export set. This keeps design review separate from file preparation. If an emote fails at 28x28, return to the drawing stage instead of trying to solve every problem with sharper export settings.
The workflow below is deliberately simple. It works for a hand-drawn emote, a logo-based reaction, or a photo that has been redrawn into a compact graphic. For a photo or logo, start with the image-to-emote preparation steps before applying the final resize.
- 1. Choose the reaction.Write a short private note about the emotion or action so the design has one job.
- 2. Block the silhouette.Remove small features until the pose and face are recognizable as a solid shape.
- 3. Clean transparency.Check edges, empty corners, and accidental background pixels on a checkerboard layer.
- 4. Review the export set.Create the three sizes, compare them side by side, and fix the artwork if the smallest one fails.
5. Export the template into a clean Twitch emote set
After the design passes the small-size test, export a clean master and generate the three standard static emote files: 112x112, 56x56, and 28x28. Keep the files square and preserve transparency when the artwork needs it. Use a clear naming pattern such as emote-name-112.png so you can identify the size without opening every file.
Resizing cannot repair a weak silhouette, a cropped subject, or a background that was flattened too early. Open the exported files and inspect the edges at 100 percent. Then preview the smallest file at normal chat scale. If the result is blurry, too dark, or visually crowded, revise the artwork or choose a different fit mode rather than repeatedly exporting the same problem.
- Confirm every file is square and matches the intended pixel dimensions.
- Keep transparent corners transparent when the design calls for them.
- Use PNG for a static emote set and avoid renaming a file with the wrong size.
- Compare crop, fit, and stretch choices when the source image is not square.
- Check the 28x28 file at normal chat scale, not only zoomed in.
- Keep a layered master so future revisions do not start from a compressed export.
- If Twitch rejects a file, check format, dimensions, transparency, and file weight separately.
6. Template, size guide, or resizer: which page should you use?
A template helps you decide what to draw and how to review it. A size guide answers dimension questions. A resizer creates the final files. These jobs overlap, but they are not the same search intent and they should not be treated as interchangeable pages.
Use this page when the artwork is still being planned or when several emotes need a consistent review process. Once the artwork is ready, move to the browser resizer for the actual PNG output. If the problem is a rejected or blurry upload, use the troubleshooting guide instead of starting the design from scratch.
| Need | Best next step | Why |
|---|---|---|
| Plan a repeatable drawing system | Use this emote template guide | Focuses on canvas, safe area, readability, and review. |
| Confirm the required dimensions | Open the Twitch emote size guide | Focuses on pixel sizes and preparation facts. |
| Create PNG files from finished artwork | Use the Twitch Emote Resizer | Completes the crop, fit, preview, and download task. |
| Fix a rejected or blurry file | Open the Twitch emote upload fix | Separates file errors from design problems. |
| Prepare a photo, logo, or drawing | Open Image to Twitch Emote | Helps the source survive the small emote format. |
7. Common Twitch emote template mistakes
The most common mistake is treating the template as a finished design. A grid can show where the artwork sits, but it cannot decide whether a reaction is clear, whether a face has enough contrast, or whether a prop is worth keeping. Those decisions still need a small-size review.
The second mistake is exporting only the large file and assuming the other sizes will be fine. The 112x112 version may look polished while the 28x28 version becomes an indistinct patch of color. Keep the three previews together during review and let the smallest useful version influence the final simplification.
- Leaving the subject too close to the edge of the square.
- Using tiny lettering as the only way to explain the reaction.
- Adding many colors without enough contrast between the main shapes.
- Flattening a background that should remain transparent.
- Confusing a clean export problem with a design problem.
Twitch emote template FAQ
Is there one official Twitch emote template?
There is no single design template that makes every emote correct. Use a square working file, a safe area, a transparent layer, and a 28x28 readability check as a practical template. Confirm current upload requirements in Twitch's own guidance before publishing a final set.
What size should a Twitch emote template be?
Use a large square master for drawing, then prepare the static export set at 112x112, 56x56, and 28x28. The master can be larger than the upload files because it is meant for clean editing and future revisions.
Should a Twitch emote template have a grid?
A center guide and inner safe area are useful, but a dense grid is optional. The goal is to protect the silhouette and important facial features, not to force the artwork into a rigid box. Hide or remove guides before exporting.
Can a template fix a blurry Twitch emote?
A template can help you find the cause, but it cannot restore detail that was never present. Start with a clean source, simplify the artwork, choose fit or crop deliberately, and inspect the 28x28 result before downloading the final set.
Can I use this template for animated emotes?
Use the same ideas for the key frames: square composition, safe edges, clear silhouette, and a readable small preview. Animated emotes also need separate checks for frame timing, motion, and file weight, so use the GIF emote guide for the animation-specific part.