Animated emote workflow
How to Make Animated Emotes for Twitch That Stay Readable
Build a strong static idea first, add motion with purpose, and test the loop at chat size before you spend time on final export.
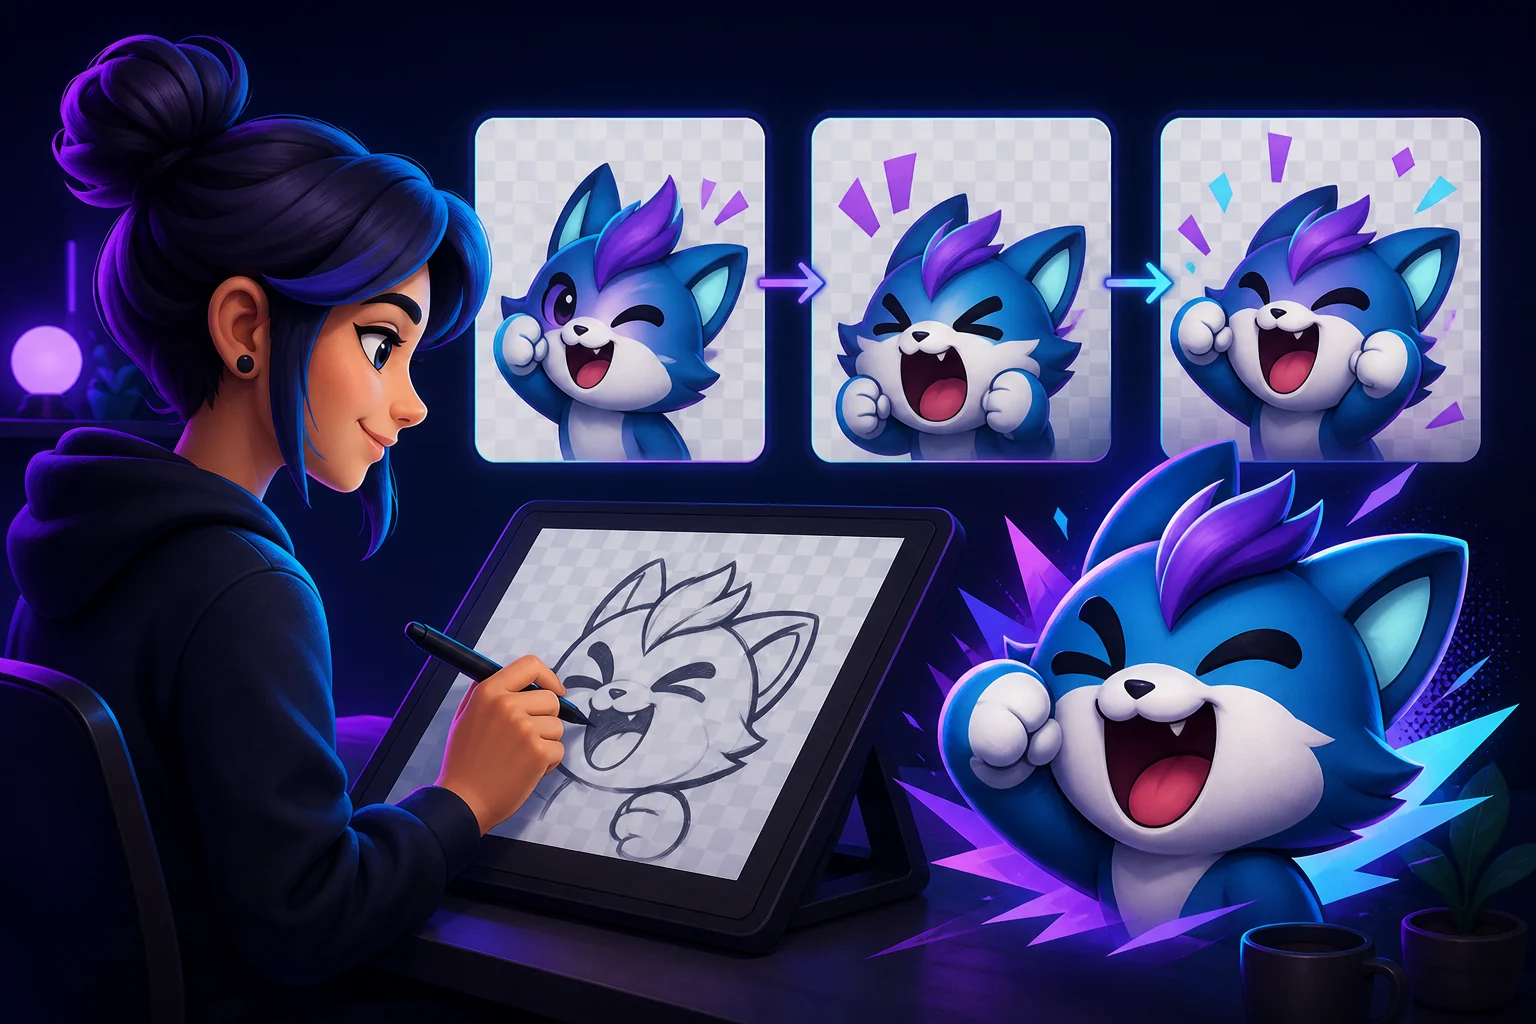
1. Start with one reaction viewers can read instantly
An animated emote is still a tiny chat symbol. Pick one emotional job—laughing, cheering, shock, approval, panic, or a channel in-joke—and make the first pose understandable without motion. If the static idea is vague, extra frames will only make the confusion move.
Choose a focal character or object, exaggerate the expression, and remove background details that compete with it. Motion should reinforce the reaction rather than introduce a second story. A bounce can sell excitement; a blink can sell mischief; a short sparkle can sell a reveal.
- Use one dominant silhouette and one clear emotion.
- Make eyes, mouth, hands, or the main prop large enough to survive reduction.
- Keep important edges away from the crop boundary.
- Avoid tiny words, thin outlines, and decorative background motion.
2. Draw a strong keyframe before animating
Work on a large square canvas with transparent layers so the artwork remains editable. The first keyframe should be a finished static emote, not a rough pose hidden by motion. Check the silhouette against light and dark backgrounds and keep a layered master before you flatten anything.
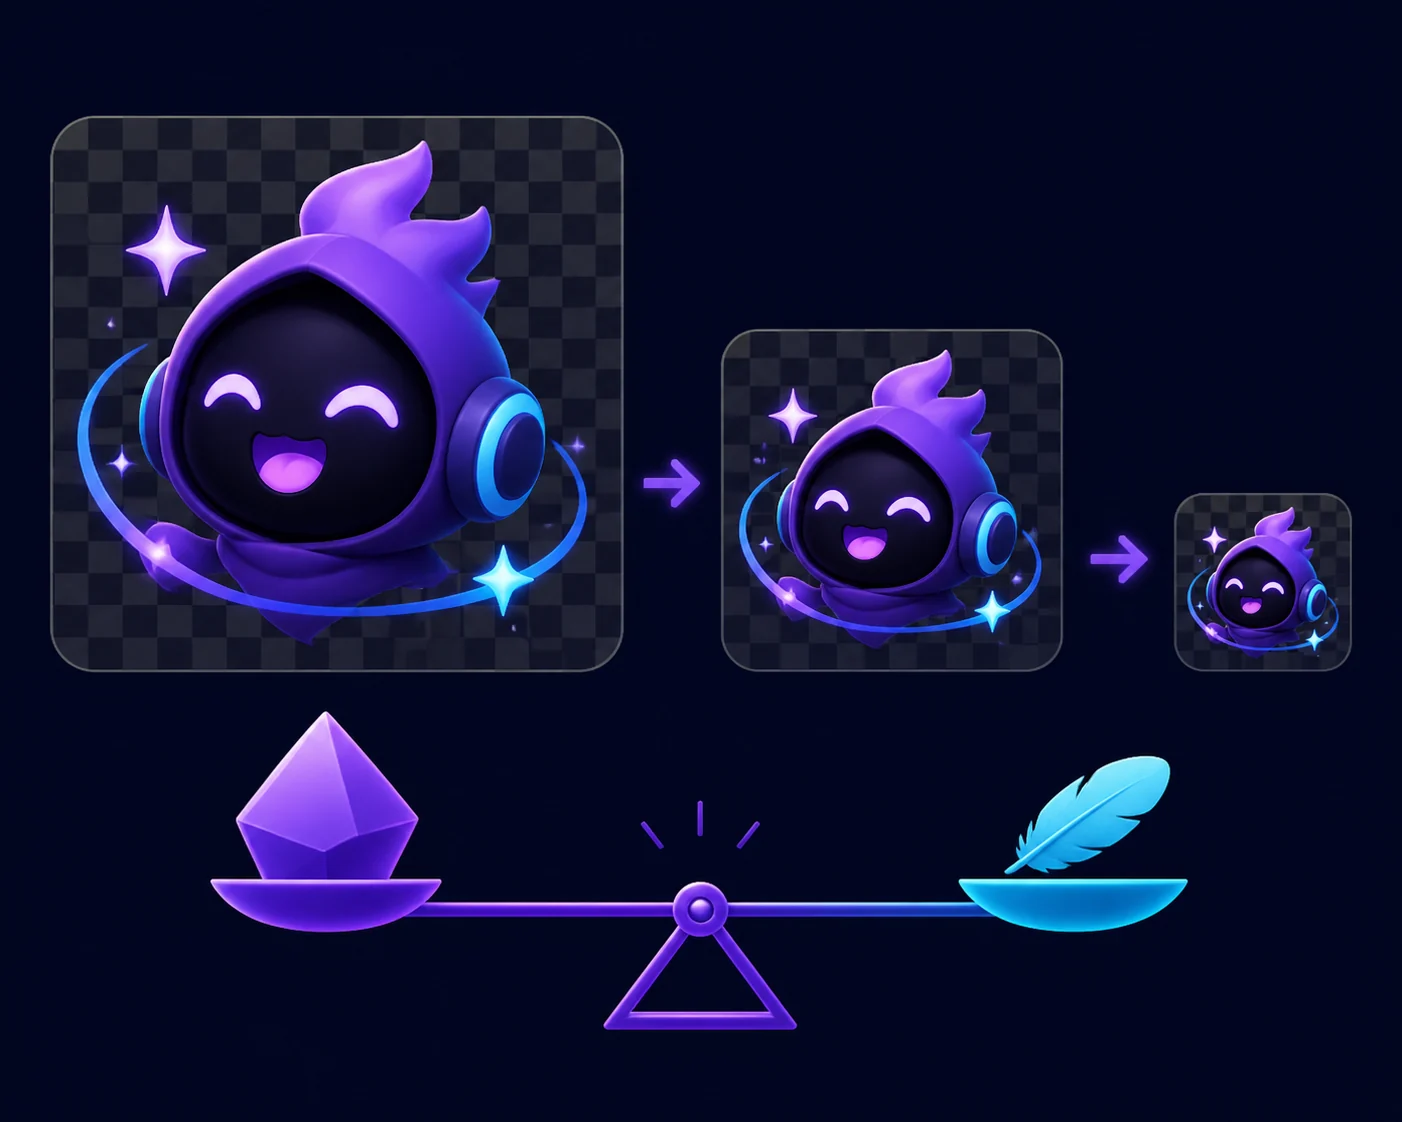
A useful test is to export or preview the keyframe at 112×112, 56×56, and 28×28. If the smallest version loses the face or action, simplify the drawing now. It is much easier to fix a shape before you duplicate it across an animation.
- Block the silhouetteZoom out and make sure the pose reads without texture, shading, or tiny accessories.
- Exaggerate the expressionEnlarge the eyes, mouth, brows, hands, or prop that carries the reaction.
- Clean transparent edgesRemove stray pixels and dark or light halos before the artwork becomes a frame set.
- Save the masterKeep a layered source file and a clean static export for later comparisons.
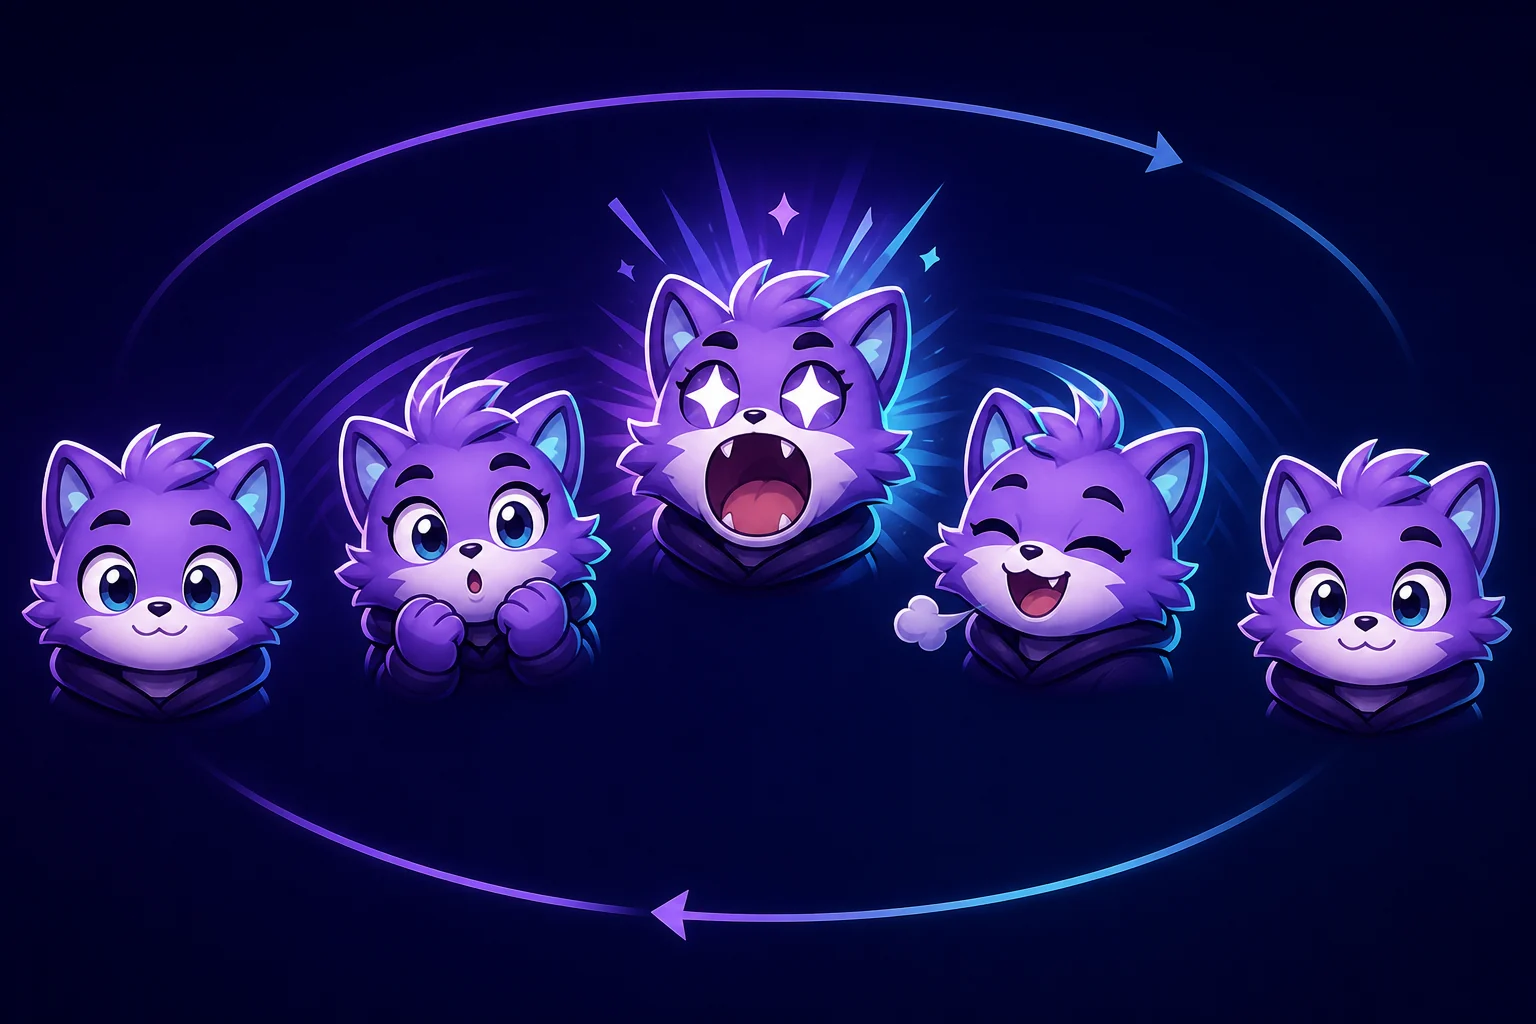
3. Add motion that explains the reaction
Build the loop around a simple beat: anticipation, action, settle, and return. You do not need a dramatic camera move to make an emote feel alive. Small changes in the face, hands, ears, shoulders, or a single accent effect are often easier to read and cheaper to export.
Use the first and last poses deliberately. A loop that snaps from the final frame back to the beginning can look like a glitch, while a held or matching return pose feels intentional. Scrub the animation at normal speed and at a slower speed so you can spot sudden jumps, drifting edges, or a reaction that peaks too briefly.
- Use anticipation before the biggest expression change.
- Keep the strongest pose on screen long enough to notice.
- Reuse or mirror poses when it keeps the loop clean.
- Remove motion that does not improve the emotion or silhouette.
4. Test the animation at Twitch chat size
Animation can hide a weak design because movement attracts attention. Pause on the key poses and inspect them at 28×28, then watch the full loop at the size viewers will see. The face, hand gesture, or main prop should remain recognizable in more than one frame—not only in the largest preview.
If the tiny version becomes muddy, crop closer, thicken the outline, remove texture, increase contrast, or reduce the number of moving parts. A clean static fallback is also useful: if the still frame is unreadable, the animated version needs a design change before compression.
| Check | Good sign | If it fails |
|---|---|---|
| Silhouette | The action is recognizable without facial detail | Crop closer or remove background shapes |
| Expression | The emotion survives the smallest key pose | Enlarge the eyes, mouth, hands, or brows |
| Motion | The loop reads as one reaction, not random shaking | Shorten the beat and keep one primary movement |
5. Export from the original artwork and keep the files light
Export the finished animation from the clean master rather than repeatedly resizing an already compressed file. Keep transparency intentional, remove empty canvas space that does not help the emote, and preserve a static keyframe alongside the animated file for comparison and fallback use.
The exact upload controls and limits can change, so verify the current Twitch Creator Dashboard and official emote guidance immediately before publishing. Check the final dimensions, file format, file size, frame timing, transparency, and whether the animation still loops cleanly after export.
- Preserve the masterKeep the layered source and a clean static keyframe outside the upload folder.
- Optimize the loopTrim unnecessary frames, reduce distracting texture, and remove transparent padding that serves no purpose.
- Compare every outputOpen the final animation and static fallback on light and dark backgrounds before uploading.
- Read the current rulesUse Twitch's current dashboard and official help guidance as the final authority for account-specific upload requirements.
6. Upload, then review the emote in context
After the file passes your local checks, upload it through the current Twitch creator workflow and review the result in the context where viewers will use it. Look for a loop that feels too fast, a face that disappears against chat colors, or a first frame that makes the emote look blank while it loads.
Keep the original animation, the exported file, and the static fallback together. If Twitch rejects the file or the preview feels unclear, you can identify whether the issue came from the artwork, the loop, the export, or a current platform requirement instead of rebuilding everything from memory.
Review the complete Twitch emote creation workflowFrequently asked questions
How do I make animated emotes for Twitch?
Start with a readable static emote, build a short loop around one reaction, preview the key poses at 28×28, and export from the original transparent artwork. Check the current Twitch upload guidance before submitting.
Should I animate the whole emote or only one part?
Usually one or two meaningful elements are enough. Animate the eyes, mouth, hands, ears, or a single accent effect when that motion reinforces the reaction; constant movement can make a small emote harder to read.
Why does my animated Twitch emote look blurry?
The artwork may contain too much detail, thin lines, low contrast, or a wide crop. Simplify the keyframe and test it at 28×28 before adding or exporting more frames.
How long should an animated emote loop be?
Use the shortest loop that clearly communicates the reaction. A compact anticipation-action-settle-return rhythm is often easier to notice and keep within upload constraints than a long complex sequence.
Can I resize an animated emote with the browser tool?
Use the GIF emote resizer page to inspect a representative still frame at emote sizes. For the final animated file, resize and optimize all frames together in an animation editor, then verify the current Twitch requirements.