Channel branding
Twitch Panel Size: Dimensions, Height, and Design Guide
Build About panels that remain sharp, readable, and consistent on desktop and mobile without confusing Twitch's maximum upload box with the best everyday design size.
1. The official Twitch panel size limit
Twitch information panels sit below the live player on a channel's About area. In the current editor, the image field accepts a panel up to 320 pixels wide by 600 pixels high, with a maximum file size of 1 MB. Starting with a 320-pixel-wide export avoids relying on browser scaling and makes it easier to judge the exact text size viewers will see.
Treat 320×600 as the outer upload limit rather than the default canvas for every panel. A tall image pushes the next panel farther down the page and can make a profile feel slow to scan. The right height depends on whether the graphic is a simple section heading, a sponsor card, a schedule, or a full visual explainer.
| Panel use | Recommended canvas | Why it works |
|---|---|---|
| Simple section header | 320×80 to 320×120 | Fast to scan and leaves room for text below |
| Branded link panel | 320×120 to 320×180 | Enough room for an icon and a short label |
| Schedule or feature card | 320×240 to 320×400 | Supports a little more structure without becoming a poster |
| Maximum upload area | Up to 320×600 | Useful only when the content genuinely needs the vertical space |
2. Choose height by content, not a fixed ratio
There is no single required Twitch panel aspect ratio. The width stays predictable, but the height may change from one panel to another. A compact 4:1 header, a 2:1 link card, and a taller schedule can all work in the same channel when their colors, borders, and spacing remain consistent.
Plan the content before choosing the height. If a panel contains only the word Schedule, stretching it to 600 pixels creates empty visual weight. If it contains a readable weekly timetable, forcing it into 100 pixels makes every label too small. Use the shortest canvas that preserves comfortable spacing and readable type.
- Keep all panels at exactly 320 pixels wide before upload.
- Use one shared left and right safe margin across the set.
- Avoid placing important details against the outer edge.
- Do not turn long About text into an image; keep searchable text in Twitch's description field.
3. Design Twitch panels for desktop and mobile
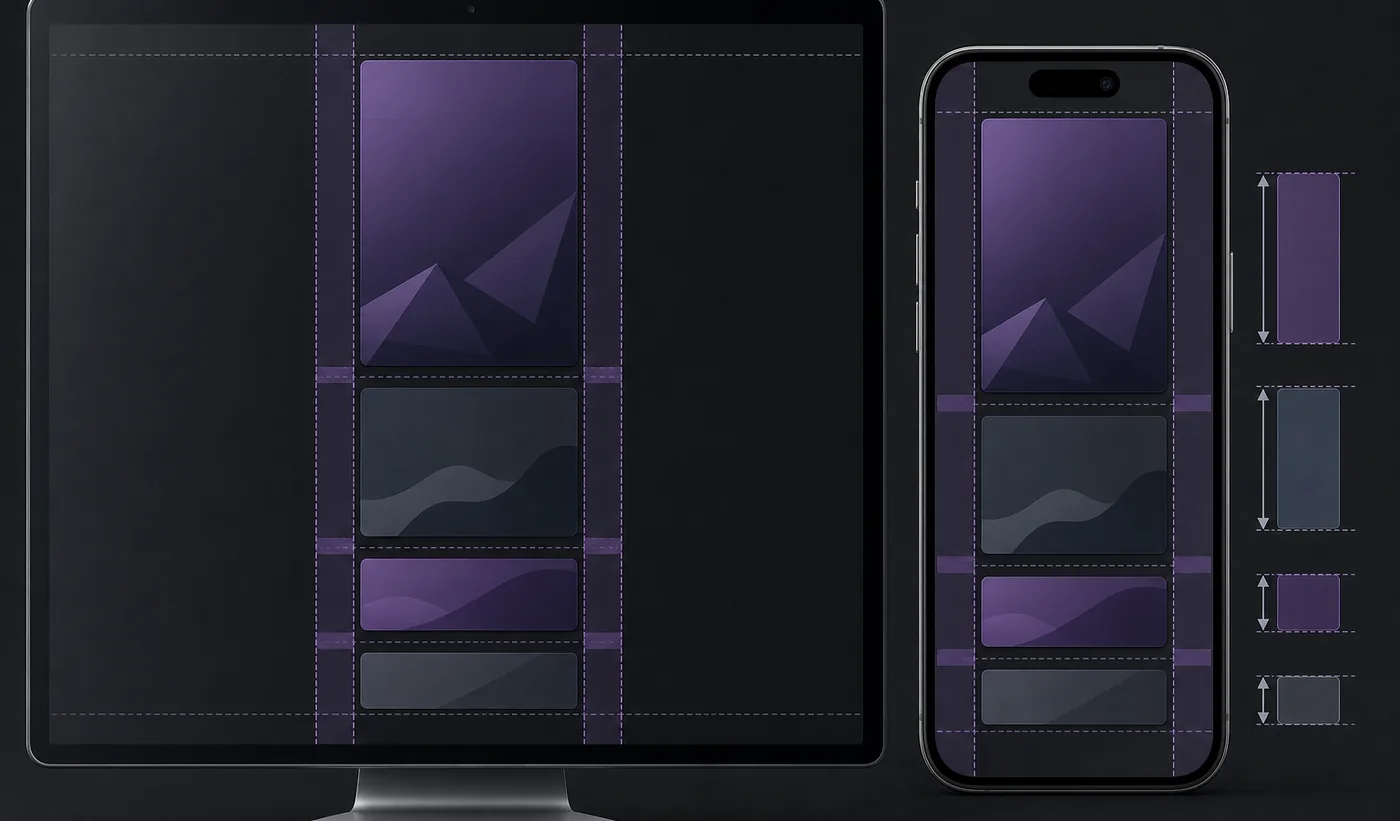
A panel that looks spacious in a design app can become very small on a phone. Mobile viewers need a strong visual hierarchy: one short label, one recognizable icon, and enough contrast to understand the panel without zooming. Fine print, thin strokes, and low-contrast gradients are the first elements to fail.
Preview the final 320-pixel image at its actual size, then reduce it again to roughly phone-column width. If the label becomes difficult to read, simplify the wording or move the detail into the text description below the image. The panel graphic should guide the eye; it should not replace the information that viewers need to copy, search, or translate.
4. Export settings for sharp panels under 1 MB
Export the final file at 320 pixels wide rather than uploading a much larger image and hoping Twitch will reduce it cleanly. PNG is usually the safest choice for flat colors, transparent corners, icons, and typography. JPG can be smaller for photographic artwork, but compression can create halos around letters and sharp borders.
Check the actual file size after export. If a PNG exceeds 1 MB, remove unnecessary texture, reduce color complexity, or run lossless WebP/PNG optimization before lowering visual quality aggressively. Keep a larger editable master file separately so future wording or branding changes do not require editing the compressed upload copy.
- Set the final widthResize the upload copy to exactly 320 pixels wide while preserving the intended height.
- Use sRGBExport in the common sRGB color space so colors remain predictable in browsers.
- Inspect at 100%Check text edges, transparency, and icon alignment at actual pixel size.
- Verify the weightConfirm the file is no larger than 1 MB before opening Twitch's panel editor.
5. Build a consistent panel system
Consistency matters more than making every panel identical. Define a small system for border thickness, corner radius, icon scale, heading position, and background treatment. Viewers should recognize that Donate, Schedule, Rules, Socials, and Gear belong to one channel even when the panel heights differ.
Use descriptive labels instead of decorative mystery icons. Keep sponsorship and affiliate disclosures in visible text where viewers can understand them. For clickable image panels, make sure the linked destination matches the panel label and periodically test that the URL still works.
- Limit the palette to two or three core colors plus one accent.
- Use the same type family and label position on every panel.
- Leave breathing room around icons and words.
- Keep high-value panels near the top and secondary resources below.
- Write accessible supporting text instead of placing every detail inside the graphic.
6. Common Twitch panel size mistakes
The most common mistake is designing a very large canvas, filling it with tiny information, and shrinking the entire composition to 320 pixels. The export may technically upload, but the result becomes unreadable. Another mistake is using different widths, random vertical spacing, or inconsistent icon sizes, which makes the About page feel assembled from unrelated pieces.
Do not confuse profile panels with Twitch banners, offline screens, badges, or emotes. Those assets use different placements and dimensions. A Twitch panel size guide should solve the narrow About-column layout; forcing a 16:9 banner into that space usually creates excessive height or a label that is too small.
Compare Twitch emote and badge dimensions7. A practical panel creation and upload workflow
Start with a 320-pixel-wide template and duplicate it for each panel type. Draft the shortest necessary label, add one supporting icon, and select a height that fits the content. Export each image, inspect it at actual size, and order the filenames so the set is easy to maintain later.
In Twitch, open the channel's About area, enable Edit Panels, add an image panel, upload the optimized file, and add the destination link or description when needed. Review the finished page while logged out and on a phone-sized screen. That final check catches broken links, clipped wording, weak contrast, and panels that are much taller than the information requires.
- DraftList the panels viewers actually need and remove duplicate destinations.
- DesignUse a shared 320-pixel-wide grid and choose a content-led height.
- ExportCreate a crisp PNG or efficient JPG below the 1 MB limit.
- PublishUpload, link, order, and preview every panel on desktop and mobile.
Twitch panel size questions
What size should a Twitch panel be?
Use 320 pixels wide. Choose the height for the content; 80–180 pixels works well for many headers and links, while Twitch's current editor allows images up to 320×600 pixels.
What is the maximum Twitch panel size?
The current Twitch information panel editor states a maximum image area of 320×600 pixels and a maximum file size of 1 MB.
Do Twitch panels need to be 320×100?
No. 320×100 is a useful compact header size, not a universal requirement. Taller panels are appropriate for schedules or richer visual cards.
Should Twitch panels be PNG or JPG?
Use PNG for transparent backgrounds, flat colors, icons, and sharp text. Use JPG for photographic artwork when a smaller file is more important than transparency.
Why is my Twitch panel blurry?
The source may have been enlarged from a small image, compressed too heavily, or exported with very small text. Design from a larger master, then export a clean 320-pixel-wide upload copy.
Can every Twitch panel have a different height?
Yes. Different heights are allowed, but a shared width, spacing system, colors, and label style make the set feel intentional.